
You think you know cold desserts. But I bet you’ve been missing the one secret that turns good into unforgettable. It’s not what you think, and it’s in almost every kitchen. Ready to find out what it is?
This Dessert Recipes Cold guide is different. We’re not just mixing fruit and cream. We’re building layers of flavor and texture that will make your guests ask for your secret. I’ve spent years perfecting these methods in my own kitchen, from simple chocolate strawberry yogurt clusters to more elaborate creations.
Today, I’m sharing them with you. We’ll move past basic no-bake treats and into pro-level territory. Your next summer party or quiet night in is about to get a major upgrade.
Recipe Overview
This isn’t just one recipe. It’s a master method. Think of it as your blueprint for countless easy desserts.
- Cuisine: International
- Category: Dessert
- Prep Time: 20 minutes (plus chilling)
- Cook Time: 0 minutes
- Total Time: 4 hours 20 minutes
- Servings: 6-8
The Secret Ingredient That Makes All the Difference
Here it is: a pinch of fine sea salt. Not just any salt. I’m talking about flaky Maldon or a good French grey sea salt.
You sprinkle it on at the very end. It doesn’t make things taste salty. Instead, it makes the sweet flavors pop and the fruit taste more like itself. It’s the whisper that makes everyone listen.
Why This Method is Better (My Pro-Tips)
Most easy dessert ideas rely on sugar alone for flavor. That’s a one-note song. We’re building a symphony.
My method uses textural contrast as a key ingredient. Think creamy against crunchy, soft against firm. I also layer sweet with a hint of tart or bitter. This creates depth in every bite, much like the satisfying crunch in a batch of strawberry shortcake puppy chow.
Chilling isn’t just to make it cold. It’s a crucial step for flavors to marry and textures to set properly. Patience here is your best tool.
Dessert Recipes Cold
The “Upgraded” Ingredient List
The Pro-Method (Step-by-Step)
Notes
Enjoy your homemade Dessert Recipes Cold!
Nutrition Information
The “Upgraded” Ingredient List
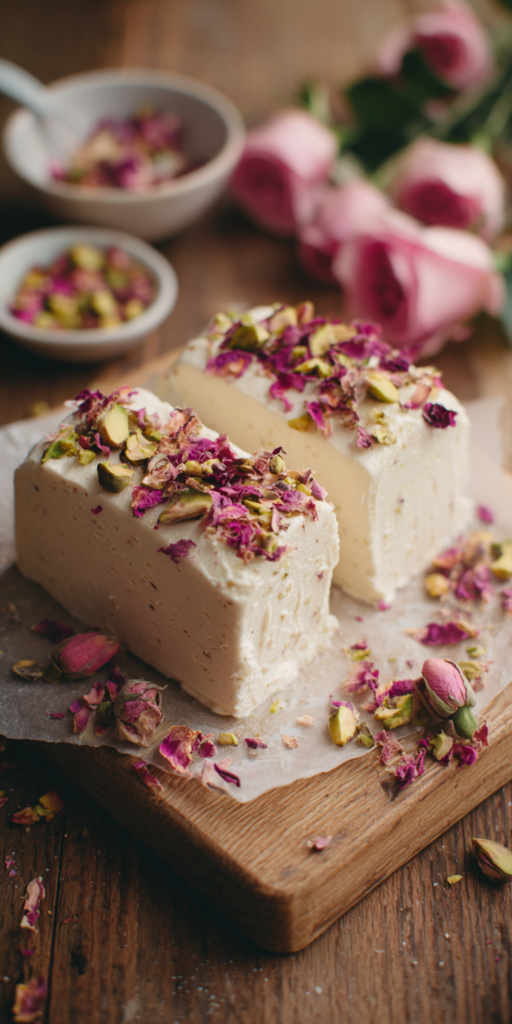
For our base recipe—a Pro-Level Berry Cloud—forget the bland stuff. This is what you really need:
- 1 lb mixed fresh berries (like raspberries, blackberries, blueberries)
- 1/4 cup honey, plus 1 tbsp for finishing
- 1 tbsp fresh lemon juice
- 1 1/2 cups heavy cream, very cold
- 1 tsp pure vanilla bean paste (not extract)
- 4 oz full-fat cream cheese, softened
- 1/4 cup powdered sugar
- 3/4 cup crushed shortbread cookies (for texture)
- That pinch of flaky sea salt for finishing
The Pro-Method (Step-by-Step)
Follow these steps in order. This is where the magic happens.
- Mash half the berries with the 1/4 cup honey and lemon juice. Leave the other half whole. This gives you a sauce and pops of fresh fruit.
- With a hand mixer, beat the cold cream and vanilla paste to soft peaks. Stop before it gets grainy. Transfer to another bowl.
- In the same mixer bowl (no need to clean it), beat the cream cheese and powdered sugar until completely smooth. This is your stability secret.
- Fold the whipped cream into the cream cheese base with a spatula. Use a gentle, folding motion to keep it airy.
- In your serving glasses, layer: cookie crumbs, cream mixture, mashed berries, whole berries. Repeat. End with cream.
- Chill for at least 4 hours. This sets the layers and blends the flavors perfectly.
- Right before serving, drizzle with the last tbsp of honey and sprinkle with that essential sea salt.

Common Mistakes & How to Fix Them
Even pros can slip up. Here’s how to avoid the big pitfalls.
Soupy Cream: This happens if your cream or bowl is warm. Always chill your bowl and beaters for 10 minutes first. If your kitchen is hot, place the bowl over ice while whipping.
Watery Fruit: Don’t mix juicy fruit directly into the cream. That’s why we layer it. The cookie crumbs act as a barrier to soak up any excess juice.
Over-sweetening: You add sugar to boost flavor, but often it just masks it. Taste your fruit first. Use honey or maple syrup to complement, not overwhelm.
Variations for the Adventurous Cook
Mastered the base? Try these pro swaps to make it your own.
Swap the shortbread for crushed amaretti cookies and use peaches. Add a tiny drop of almond extract to the cream. It’s a sophisticated twist.
For a tropical version, use mango and passion fruit. Layer with coconut cream whipped with a little lime zest. Top with toasted coconut chips.
Make it a party showstopper. Skip the glasses and build the whole thing in a springform pan. Chill overnight, then unmold for a stunning layered cake.
Nutrition Notes
This is a treat, but using real ingredients matters. Here’s a rough breakdown per serving.
- Calories: ~320
- Fat: 22g (from real dairy, not oils)
- Carbs: 28g (mostly from fruit & honey)
- Protein: 3g
- Fiber: 3g (from berries and seeds)
Your Pro-Level Questions Answered
These are the questions my cooking students always ask.
Can I make this completely ahead for a party?
Absolutely. In fact, I insist on it. Assemble it up to 24 hours ahead. Just add the final salt and honey garnish right before you serve. The flavors get better as they sit.
My cream cheese is lumpy when I mix it. What went wrong?
It wasn’t soft enough. Take it out of the fridge at least an hour before. For a quick fix, beat it alone first until it’s completely smooth. Then add the sugar.
What’s the best fruit for fresh summer desserts using this method?
Choose fruits with a balance of sweet and tart. Stone fruits (peaches, cherries), berries, and citrus segments work best. Avoid watery fruits like watermelon. They’ll make the dessert soggy.
A Few Final Secrets
You now have the blueprint. But the real skill is in the tweaks. Taste as you go. Adjust the sweet or tart to your liking.
Presentation is part of the experience. Use clear glasses. Show off those beautiful layers. A mint leaf or edible flower makes it look professional.
Most importantly, have fun with it. This method is your playground. Once you understand the balance, you can’t go wrong. It’s perfect for everything from elegant parfaits to playful, fun no-bake ideas like Oreo sushi rolls.
Now that you have the secret, go try it! Did that pinch of salt change the game for you? What variations did you create? Let me know in the comments below—I read every one and love seeing your creations!
 Tired of the 5 PM dinner panic? Grab my new 30-Minute Cookbook!