
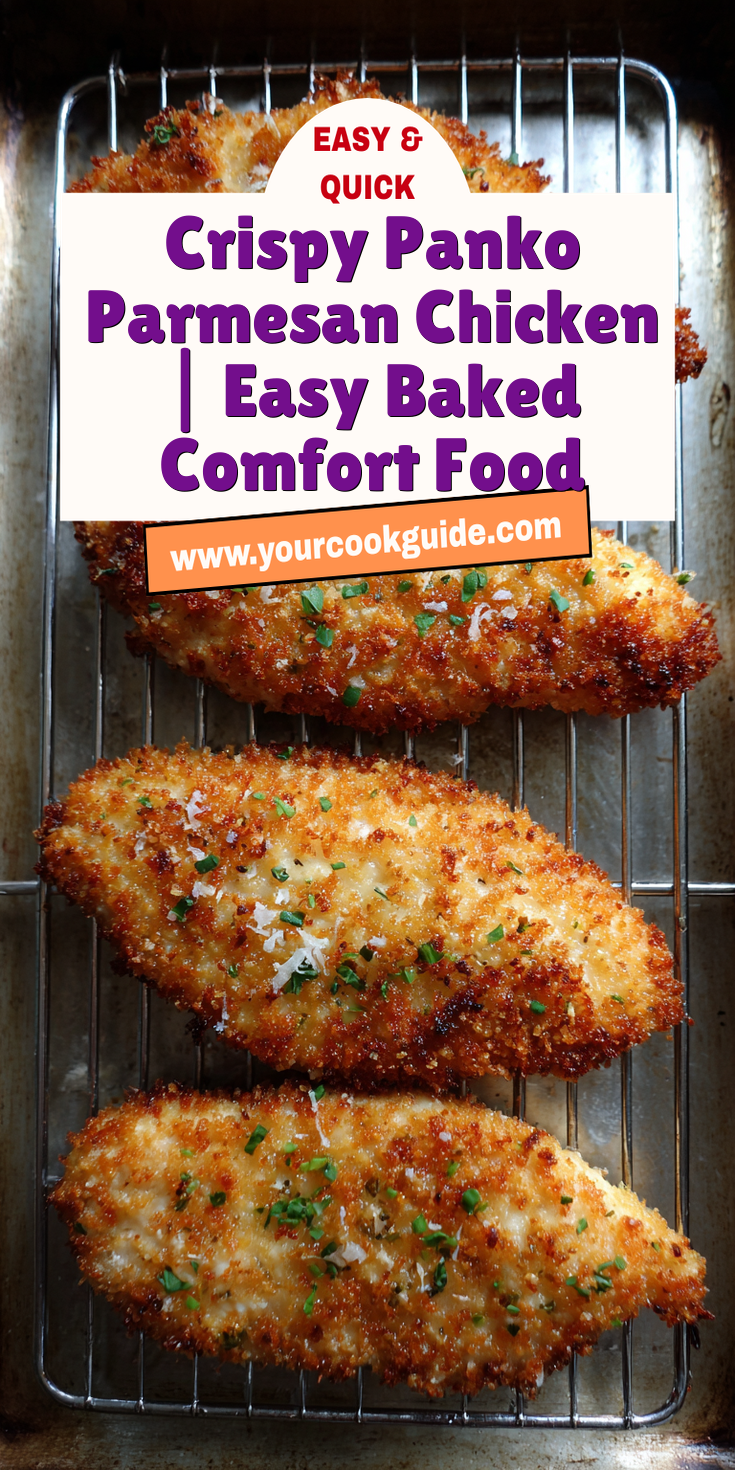
You’ve made crispy chicken before. But you’ve never made it like this. This Crispy Panko Parmesan Chicken has a secret ingredient that changes everything. It’s the difference between good and unforgettable. If you love cheesy chicken, you should also try our classic Parmesan Crusted Chicken.
Ready to find out what it is? I’m sharing my kitchen secrets today. We’re going to make a chicken dish that stays impossibly crunchy, even after baking. Forget soggy breading. This is the real deal.
I’ve tested this method for years. It’s the one I use for my family when I need a guaranteed win. Let me show you how it’s done.
Recipe Overview
Here’s the quick look at what we’re making. It’s simpler than you think.
- Cuisine: American-Italian Fusion
- Category: Main Course
- Prep Time: 15 minutes
- Cook Time: 20 minutes
- Total Time: 35 minutes
- Servings: 4
The Secret Ingredient That Makes All the Difference
Here it is. The game-changer. It’s not in the breading. It’s in the glue.
The secret is full-fat mayonnaise. Not egg wash, not buttermilk. Mayonnaise. I know it sounds wild. But trust me on this.
Mayonnaise is an emulsion of oil and egg. It clings to the chicken like a second skin. It creates a waterproof barrier that keeps the meat juicy. The oil in it fries the panko from the inside out in the oven.
This gives you a deeper, more golden crunch. It also prevents the panko from sliding off. Your coating stays put from the first bite to the last.
Why This Method is Better (My Pro-Tips)
My method skips the fuss. You won’t need a fryer or a mess of oil. We use the oven smartly.
Crispy Panko Parmesan Chicken Recipe
The “Upgraded” Ingredient List
The Pro-Method (Step-by-Step)
Notes
Enjoy your homemade Crispy Panko Parmesan Chicken Recipe!
Nutrition Information
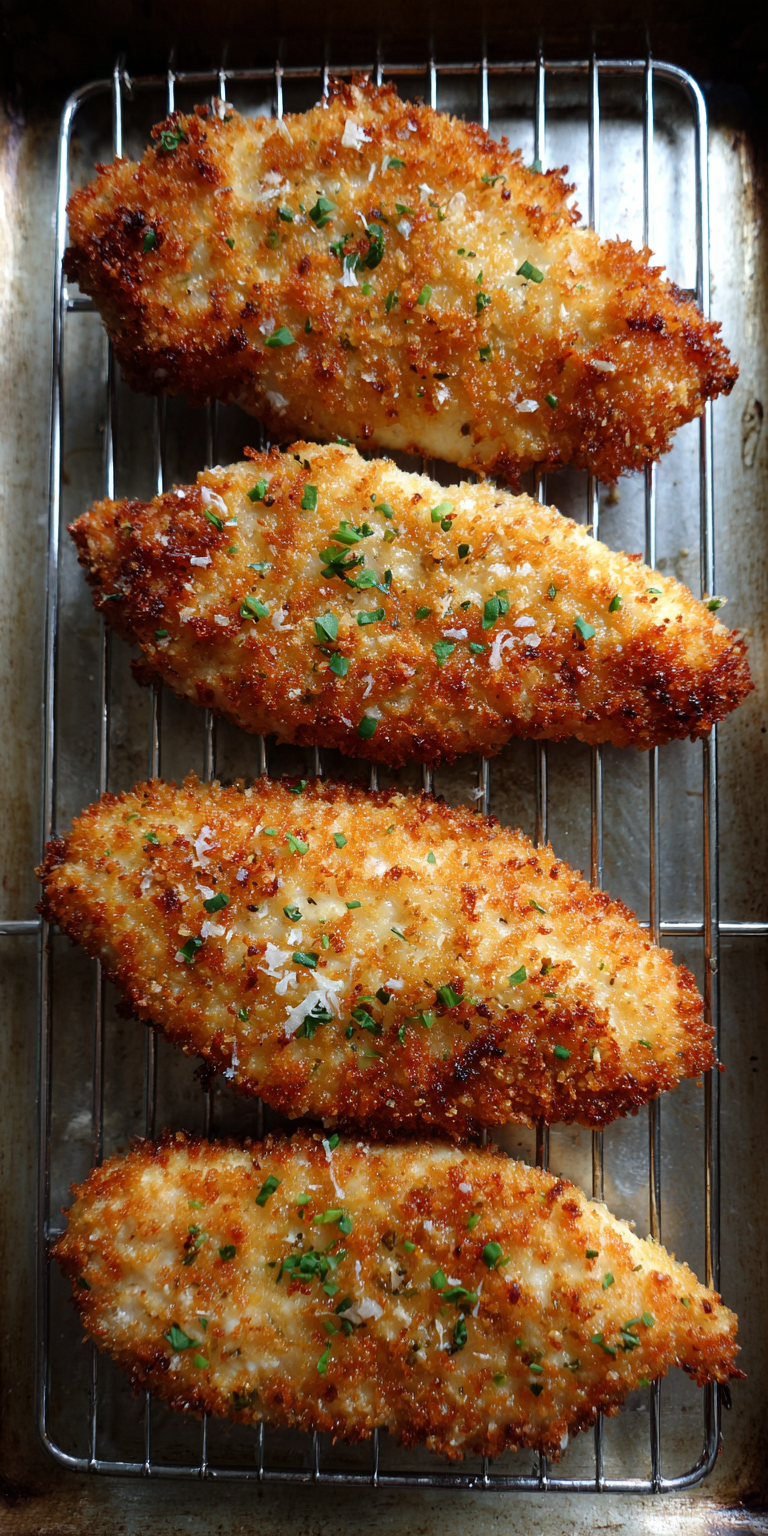
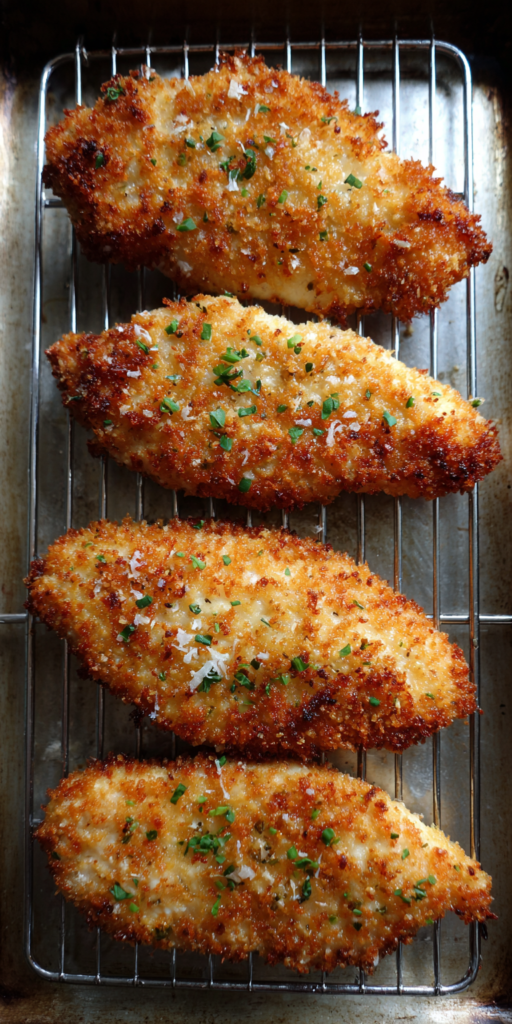
First, we use a wire rack on the baking sheet. This is non-negotiable. Hot air circulates completely around the chicken. The bottom crust steams if it sits directly on the pan.
Second, we press the panko mixture on. Don’t just dredge. Really press it into the mayo layer. You want a thick, craggy armor. That texture is where the magic crunch happens.
Finally, a very hot oven is key. We start at 425°F. This gives an initial blast of heat. It sets the crust fast so it doesn’t absorb moisture.
The “Upgraded” Ingredient List
Quality matters here. These are the building blocks of flavor and crunch.
- 2 large boneless, skinless chicken breasts (about 1.5 lbs), halved horizontally to make 4 cutlets
- 1/2 cup full-fat mayonnaise
- 1 cup panko breadcrumbs
- 3/4 cup finely grated Parmesan cheese (use the gritty stuff from the canister, not fresh)
- 1 tsp garlic powder
- 1 tsp smoked paprika
- 1/2 tsp kosher salt
- 1/2 tsp black pepper
- Olive oil spray or melted butter for finishing
The Pro-Method (Step-by-Step)
Follow these steps closely. The order is part of the secret.
- Prep for success. Place a wire rack inside a rimmed baking sheet. Preheat your oven to 425°F. Pat your chicken cutlets completely dry with paper towels. This is the first step to good adhesion.
- Make the crunchy coat. In a wide, shallow bowl, mix the panko, Parmesan, garlic powder, smoked paprika, salt, and pepper. Use your fingers to break up any clumps of cheese.
- Apply the glue. Brush a generous, even layer of mayonnaise onto both sides of each chicken cutlet. You should not see any pink chicken peeking through.
- Create the armor. Press each mayo-coated cutlet firmly into the panko mixture. Turn and press again. Get a solid, thick coating on both sides. Place it on the wire rack.
- Lock in the crunch. Lightly spray or brush the top of each piece with olive oil or melted butter. This helps the browning go from golden to glorious.
- Bake to perfection. Bake for 18-22 minutes. You’re looking for a deep golden brown crust and an internal temperature of 165°F. No flipping needed.
- The final secret. Let the chicken rest on the rack for 5 minutes before serving. This lets the crust set and the juices redistribute.
Common Mistakes & How to Fix Them
Even pros make mistakes. Here’s how to avoid the big ones.
Soggy Bottom Crust: This means you skipped the wire rack. The chicken sits in its own steam. Always use a rack. It’s the only way to get crunch all around.
Breading Falls Off: Your chicken was probably wet. Or you didn’t press hard enough. Dry the chicken thoroughly first. Then press the panko on like you mean it. The mayo needs something dry to grip.
Panko Burns Before Chicken Cooks: Your oven rack is too high. Bake in the center of the oven. If it’s browning too fast, tent loosely with foil. Finish cooking, then remove the foil for the last minute to re-crisp.
Variations for the Adventurous Cook
Mastered the base recipe? Try these pro swaps to mix it up. For a fun, handheld version of these flavors, you must try our Garlic Parmesan Chicken Skewers.
Add 1 tablespoon of everything bagel seasoning to the panko mix. It adds onion, garlic, and sesame flavor in every bite. It’s incredible.
Swap half the Parmesan for finely grated Pecorino Romano. It’s sharper and saltier. A little goes a long way for a more complex cheese flavor.
For a herby twist, mix 2 tablespoons of dried Italian herbs into the mayonnaise. The herbs infuse the whole coating with flavor from the inside out.
Nutrition Notes
This is a hearty main course. Here’s a basic breakdown per serving.
- Calories: ~480
- Protein: 38g
- Carbohydrates: 18g
- Fat: 28g (Saturated: 6g)
- Key Note: Using a wire rack allows excess fat to drip away, making this a lighter option than pan-frying.
Your Pro-Level Questions Answered
You asked, I’m answering. These are the questions I get from my cooking friends.
Can I use chicken thighs instead?
Absolutely. Boneless, skinless thighs work great. They are more forgiving and stay super juicy. Just press them into a more even shape before coating. They may need a few extra minutes in the oven.
How do I make this ahead of time?
You can bread the chicken up to 4 hours ahead. Keep it uncovered on the rack in the fridge. The cold air will actually dry the coating slightly, which can make it even crispier. Bake straight from the fridge.
What’s the best side dish for this?
It’s perfect with my Creamy Smothered Chicken & Rice for an easy comfort dinner. For something lighter, a simple arugula salad with lemon vinaigrette cuts the richness beautifully. It works with any of your favorite chicken dishes recipes.
A Few Final Secrets
Before you go, let me leave you with this. The best oven chicken recipes are about technique, not just ingredients.
Grate your own Parmesan from a block if you can. The pre-grated stuff has anti-caking agents. They can sometimes prevent the best browning. The stuff from the green can works in a pinch, but fresh is a noticeable upgrade.
Don’t crowd the baking sheet. Give each piece room. Hot air needs to move. If the pieces are touching, they’ll steam each other. Use two racks if you need to double the recipe.
This method is your new foundation. Once you get this crispy, juicy result, you’ll see boneless chicken breast recipes easy in a whole new light. It opens up a world of possibilities. For a truly effortless meal that’s packed with the same great flavors, our Garlic Parmesan Crockpot Chicken and Potatoes is a must-try.
Now that you have the secrets, go try it! I want to hear from you. Did the mayonnaise trick blow your mind? Did your family ask for seconds? Let me know if it’s a game-changer in the comments below. And if you loved it, give this recipe a 5-star rating!
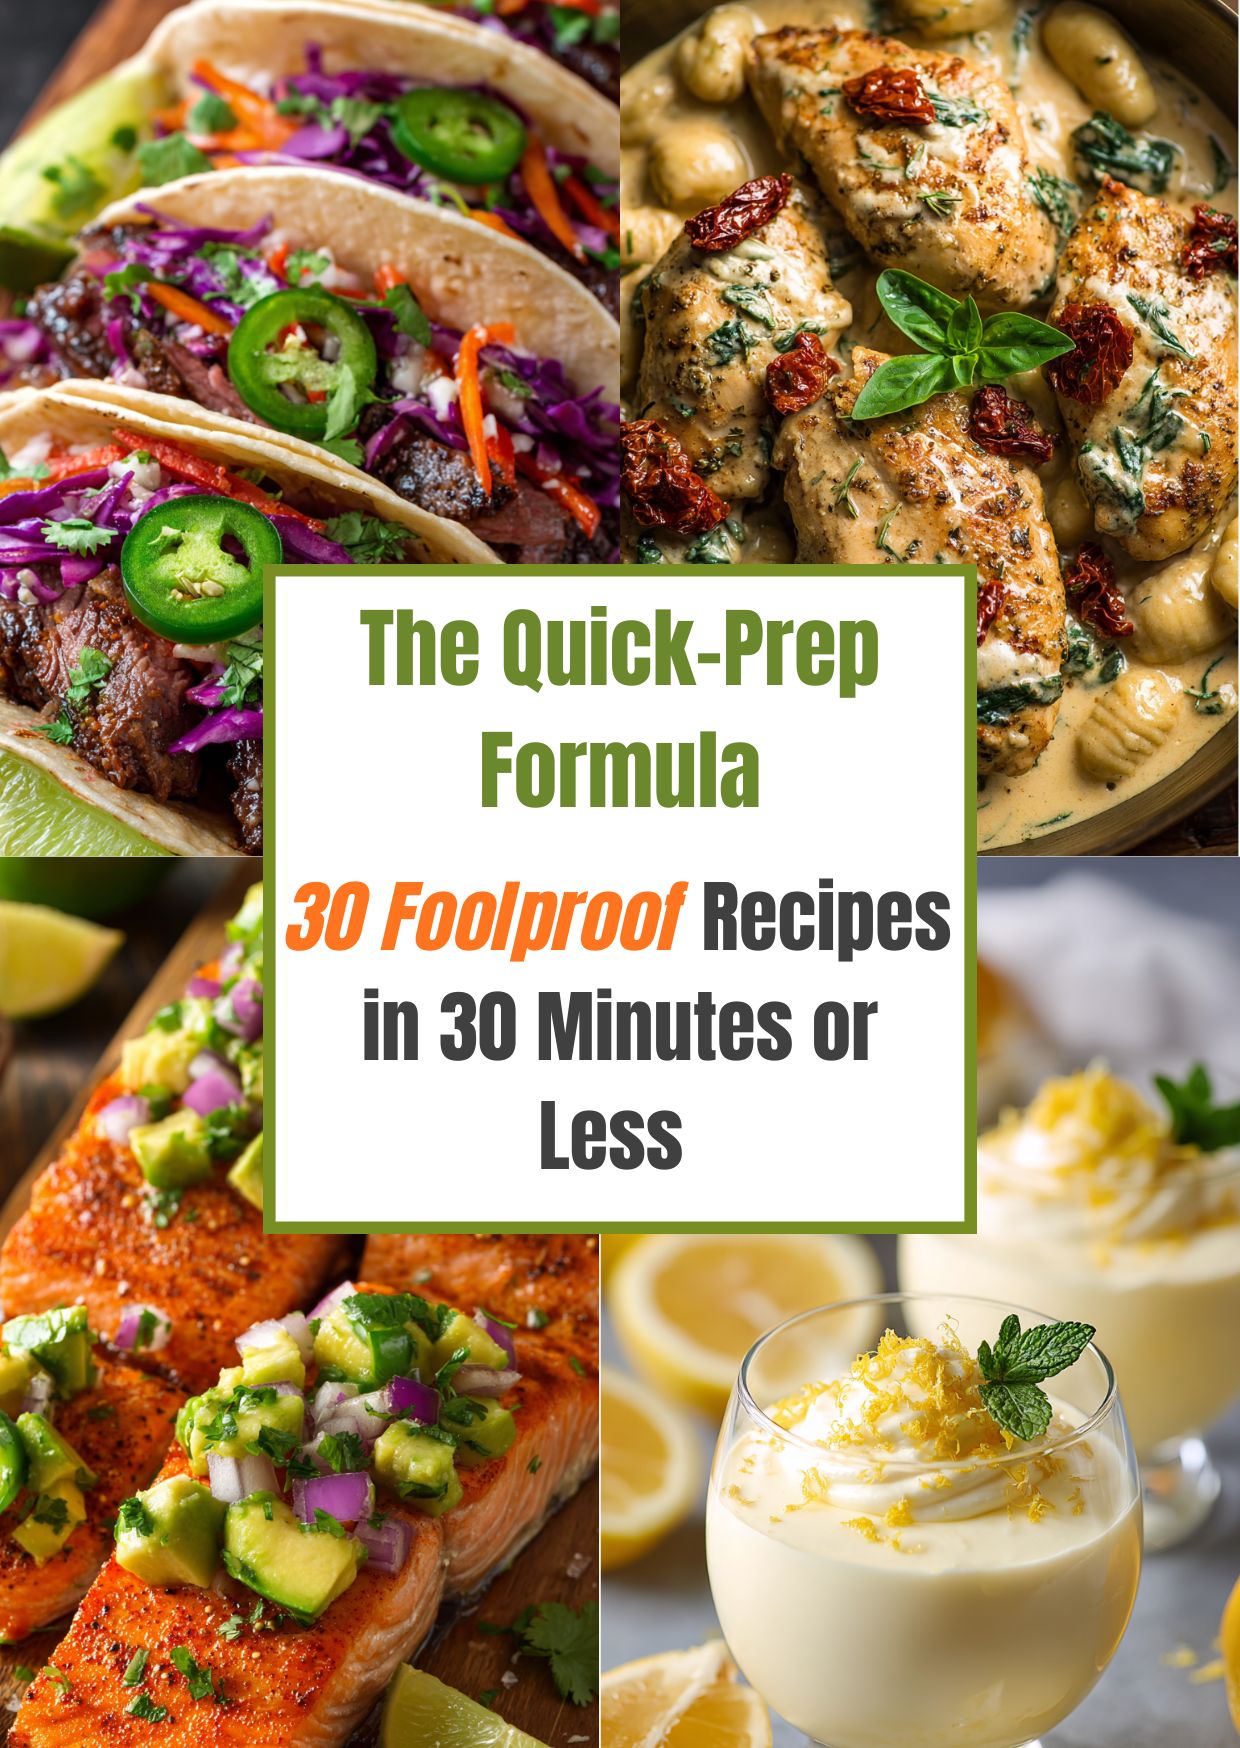 Tired of the 5 PM dinner panic? Grab my new 30-Minute Cookbook!