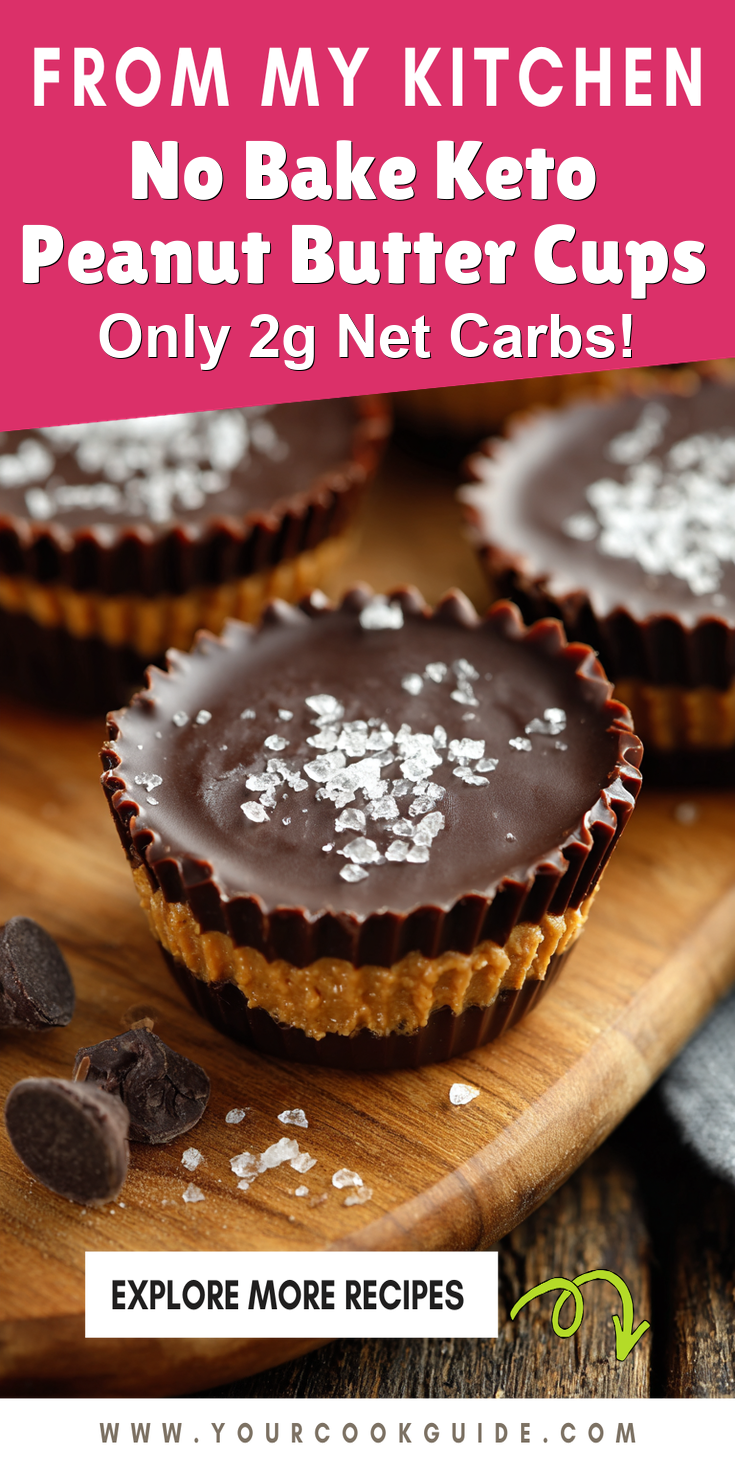
Some recipes just feel like a warm hug. For me, these No Bake Keto Peanut Butter Cups are one of them. They take me right back to my grandma’s kitchen, where a sweet treat was always waiting. If you’re looking for more fun, no-bake peanut butter ideas, you’ll love these Peanut Butter & Jelly Oat Cups for a mess-free snack.
That perfect mix of rich chocolate and creamy peanut butter is pure comfort. It’s a flavor that feels like home, no matter how old you get. Today, I want to share my version of this classic with you.
It’s a simple, no-bake recipe that fits a keto lifestyle. You get all the nostalgia without any of the guilt. Let’s make some magic together.
Recipe Overview
- Cuisine: American
- Category: Dessert
- Prep Time: 15 minutes
- Cook Time: 0 minutes
- Total Time: 1 hour 15 minutes (includes chilling)
- Servings: 12 peanut butter cups
The Story Behind This Classic Recipe
I can still see the yellow wrapper. As a kid, those store-bought peanut butter cups were the ultimate prize. My grandma would sneak one into my lunchbox on special days.
It was our little secret. When I started my keto journey, I thought those moments were lost. I missed that simple joy more than I expected.
So, I set out to recreate that memory in my own kitchen. I wanted the same creamy filling and the snap of chocolate. This recipe is the happy result of that kitchen experiment.
It’s more than just a fat bomb to hit my macros. It’s a direct line back to my grandma’s table. Now, I get to share that feeling with my own family.
No Bake Keto Peanut Butter Cups Recipe
The Classic Ingredients (No Fancy Stuff!)
How to Make It Just Like Grandma Did
Notes
Enjoy your homemade No Bake Keto Peanut Butter Cups Recipe!
What Makes This the *Traditional* Way
For me, “traditional” means keeping it real. It’s about the honest flavors we remember, not complicated tricks. This recipe sticks to that heart and soul.
We use classic, whole ingredients you can trust. The method is straightforward, with no fancy equipment needed. It’s the kind of recipe you can make with a kid by your side.
The goal is pure, simple comfort. We focus on the perfect balance between salty peanut butter and sweet chocolate. That’s the magic we’re after, just like the original.
The Classic Ingredients (No Fancy Stuff!)
Great food starts with great ingredients. Here’s everything you’ll need to make this classic treat. I promise there’s nothing weird in this list.
- 1 cup natural, creamy peanut butter (just nuts and salt)
- 1/2 cup powdered erythritol (or your favorite keto sweetener)
- 2 tbsp softened butter or coconut oil
- 1 tsp pure vanilla extract
- A pinch of fine sea salt
- 1 1/2 cups sugar-free chocolate chips
- 1 tbsp coconut oil (for thinning the chocolate)
How to Make It Just Like Grandma Did
Don’t let the simplicity fool you. These steps create something truly special. Just follow along and enjoy the process.
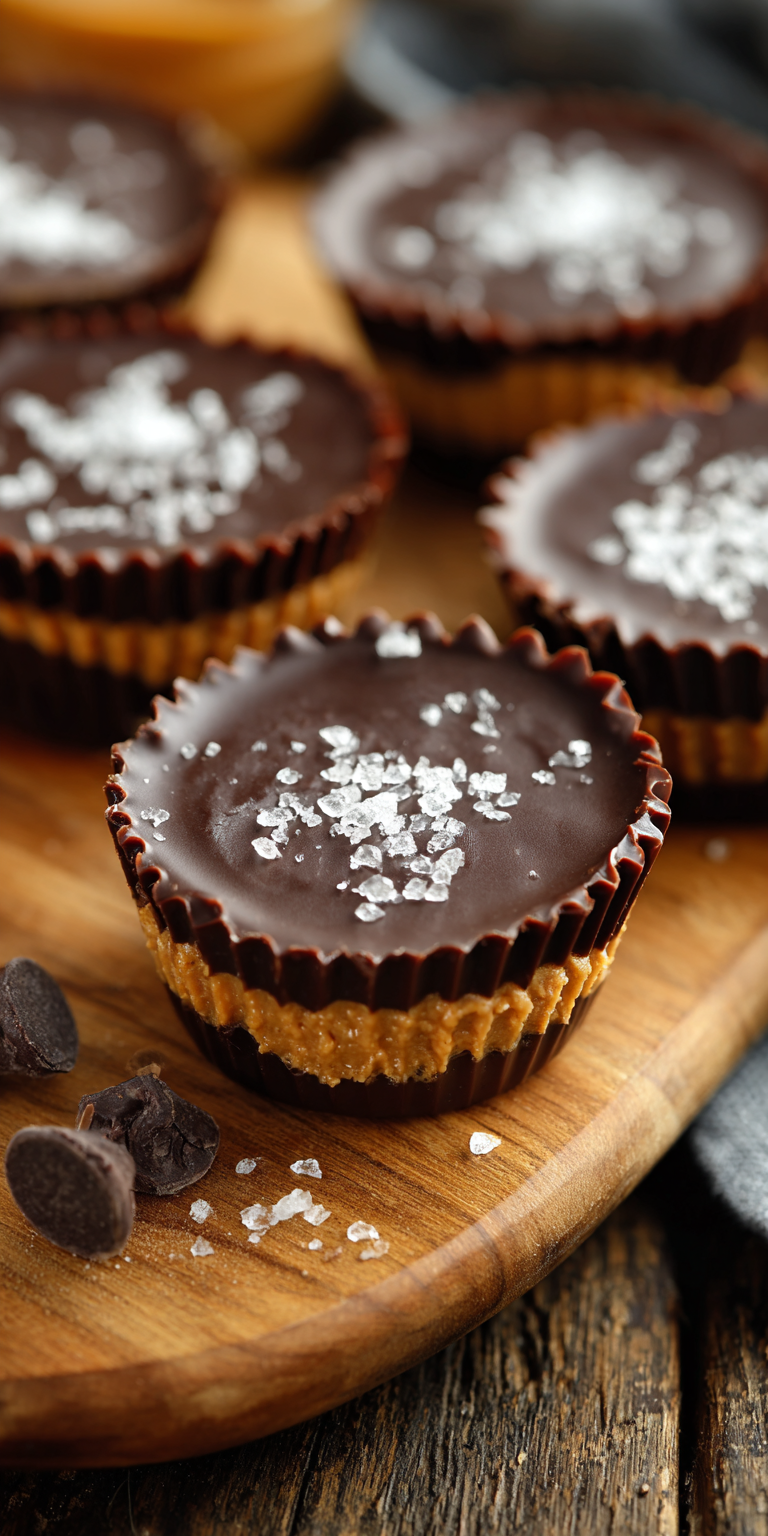
- Line a muffin tin. Place 12 paper liners in a standard muffin tin. This makes everything so easy later.
- Make the peanut butter filling. In a medium bowl, stir together the peanut butter, powdered erythritol, softened butter, vanilla, and sea salt. Mix until it’s completely smooth and holds together.
- Melt the chocolate. In a heat-safe bowl, combine the sugar-free chocolate chips and the tablespoon of coconut oil. Melt gently in the microwave in 30-second bursts, stirring well each time, until smooth.
- Create the first chocolate layer. Spoon about a teaspoon of melted chocolate into the bottom of each liner. Use the back of the spoon to spread it up the sides a little. Pop the tin in the freezer for 10 minutes to set.
- Add the peanut butter layer. Divide the peanut butter mixture into 12 equal portions. Roll each into a ball, then flatten into a disc. Place one disc into each chilled chocolate cup.
- Top it off with more chocolate. Spoon the remaining melted chocolate over each peanut butter disc, making sure to cover it completely. Gently tap the tin on the counter to smooth the tops.
- Chill until set. Return the tin to the freezer for at least 1 hour, or until the chocolate is completely firm. Then, they’re ready to enjoy!
My Tips for Perfecting This Classic
A few little tricks can make a big difference. Here’s how I make sure my peanut butter cups turn out perfect every single time.
First, make sure your peanut butter is well-stirred. The natural oils can separate. Give it a really good mix before you measure it for the best texture.
Second, don’t skip chilling the first chocolate layer. This creates a solid base so the layers stay distinct. It’s the secret to that perfect bite.
Finally, if your melted chocolate seems too thick, add just a tiny bit more coconut oil. This helps it pour smoothly and gives the finished cup a beautiful glossy shine.
How to Store and Enjoy Later
These treats are perfect for making ahead. I like to keep a batch in the freezer for when a craving hits. For another fantastic frozen treat that combines chocolate, peanut butter, and banana, you have to try these Chunky Monkey Banana Bites.
Store them in an airtight container in the freezer for up to 2 months. They are meant to be eaten cold and firm, straight from the freezer.
Let them sit for just a minute or two before you bite in. This softens the peanut butter filling slightly for the ultimate creamy experience.
Nutrition Notes
This is a rich, satisfying treat. Here’s a general look at what’s in one peanut butter cup. Remember, values can vary based on your specific ingredients.
- Calories: ~180
- Fat: 16g
- Net Carbs: 3g
- Protein: 5g
- Fiber: 2g
Your Questions About This Classic Recipe
I get a few questions about this recipe all the time. Here are the answers to help you out.
Can I use a different nut butter?
Absolutely! Almond butter works wonderfully here. Just make sure it’s the natural, runny kind without added sugars for the best texture and taste.
My sweetener is grainy. What did I do wrong?
This can happen. For the smoothest filling, I strongly recommend using a powdered version of your keto sweetener. It blends into the peanut butter seamlessly.
Why did my chocolate get cloudy?
This is usually from moisture. Make sure your bowls and utensils are completely dry when melting the chocolate. Storing them in the freezer, not the fridge, also keeps the shine.
I hope this recipe brings a little bit of that old-fashioned kitchen comfort into your home. It’s a simple joy, but sometimes those are the very best ones.
Making these cups always brightens my day. I love knowing that this classic treat can still be part of our lives, made with love and good ingredients. If you’re baking for little ones, these Irresistible Peanut Butter Banana Muffins are a wonderful healthy treat they’ll adore.
Did this recipe take you back to a sweet memory of your own? I would love to hear about it. Please let me know how your peanut butter cups turned out in the comments below, and don’t forget to leave a rating!